
Michael Anderson
Former journalist turned tech writer with a passion for helping professionals enhance productivity through AI.
Introduction
Ever wanted your Google Slides to look sharp and professional? One trick to make that happen is text wrapping—placing text neatly around images or shapes. It’s a small change that makes your slides easier to read and more eye-catching. Whether you’re putting together a school project or a work presentation, learning how to wrap text in Google Slides can really boost your design game.
So, what’s text wrapping all about? It’s when text flows around an image instead of just sitting above or below it. This blends your words and pictures smoothly, keeping your audience hooked. Here’s the thing, though: Google Slides doesn’t have a built-in “text wrap” button like some other tools. No problem! You can still do it with a quick workaround using text boxes.
In this guide, I’ll show you a simple way to wrap text around images in Google Slides. It’s perfect for beginners, and by the end, you’ll be ready to create clean, polished slides on your own. Let’s jump in!
Step-by-Step Guide: Wrapping Text Around an Image
Ready to try it out? Here’s how to wrap text around an image in Google Slides in five easy steps. Follow along, and you’ll see how simple it is!
Step 1: Insert an Image
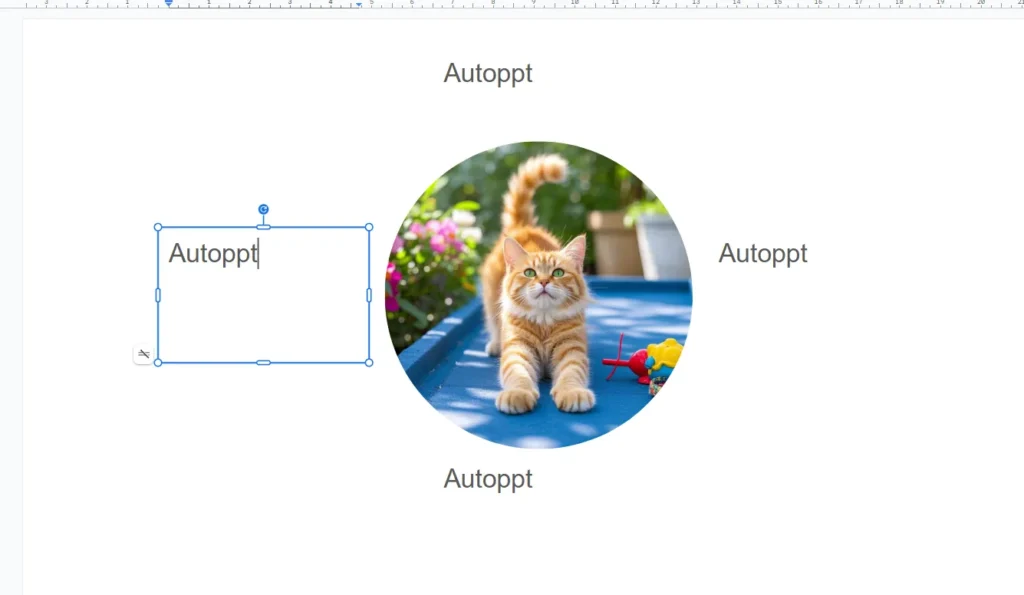
First, you need an image on your slide.
-
Open your Google Slides presentation.
-
Click Insert at the top.
-
Pick an image from the menu.
-
Upload an image from your computer, grab one from Google Drive, or search the web—your choice!

-
Once it’s on the slide, resize it by dragging the corners so it fits nicely.
Step 2: Add a Text Box
Now, let’s add a spot for your text.
-
Find the Text Box button in the toolbar—it’s a little square with a “T” inside.

-
Or, go to Insert > Text Box.

-
Click and drag on the slide to draw a text box. Make it whatever size you want for now.
Step 3: Position the Text Box
Here’s where the wrapping magic starts.
-
Drag the text box to where you want it—like beside or below your image.
-
Resize it by pulling the blue handles on the sides. Shape it to fit around the image.
-
If a red line pops up, it means the text box overlaps the image. Move or shrink it until the red line goes away—overlaps can make things messy!
Step 4: Enter Text
Time to add your words.
-
Click inside the text box.
-
Type what you want, or paste text with CTRL+V (or Command+V on a Mac).
Step 5: Adjust Text Alignment
Let’s make it look neat.
-
Highlight the text in the text box.
-
In the toolbar, find the alignment buttons.
-
Click Justify for a smooth, even look—it’s great for wrapping text. (You can also try Left, Center, or Right if that fits your style.)

There you go! You’ve just wrapped text around an image in Google Slides. Want to step it up? Check out the next section for some pro tips.
Advanced Tips for Better Text Wrapping
Once you’ve got the basics down, these tricks can help you make your slides even better. They’re still easy to do, so give them a shot!
Using Multiple Text Boxes
Got a lot of text or a tricky layout? Use more than one text box.
-
Add extra text boxes by repeating Step 2.
-
Place them around your image—like one on the left and one on the right.
-
Adjust their sizes and spots to get the look you want. It’s like building a puzzle!
Fine-Tuning with Indents
Need your text to line up just right? Indents can help.
-
Select the text in your text box.
-
Look for the Indent buttons in the toolbar (arrows pointing left or right).
-
Click them to nudge the text a bit. This keeps it from crowding the image.
Avoiding Overlap
Overlapping text and images is a no-no—it looks sloppy.
-
Keep an eye on that red line when moving or resizing your text box.
-
If you see it, shift things around until it’s gone.
-
Check your slide to make sure everything’s clear and readable.
With these tips, your slides will start looking like a pro designed them. But watch out for a few common slip-ups—let’s cover those next.
Common Mistakes to Avoid
Even pros mess up sometimes! Here are three things to watch out for when wrapping text in Google Slides.
Forgetting to Resize Text Boxes
If your text box is the wrong size, your text might look squished or weirdly spaced.
-
Fix: Drag those blue handles to resize the text box until the text fits just right.
Skipping Justify Alignment
Other alignments can leave your text looking uneven next to an image.
-
Fix: Select your text and hit Justify in the toolbar for a clean edge.
Allowing Text to Overlap Images
Text over an image is hard to read and looks cluttered.
-
Fix: Move or resize your text box if you see that red overlap line. Keep it separate!
Dodge these mistakes, and your slides will shine. Let’s wrap this up!
Conclusion
Text wrapping might seem like a little thing, but it makes a big difference in Google Slides. It turns boring slides into something clear, pretty, and fun to look at. Your audience—whether it’s classmates or coworkers—will notice the effort.
The coolest part? You don’t need to be a design expert to do it. With the steps and tips here, you’re all set to start wrapping text like a champ. Play around with it—try different layouts or mix up your text boxes. You’ll figure out what works best for you.
Create worry-free presentations with AutoPPT . Turn your ideas into slides quickly—while keeping them 100% yours!
About AutoPPT: An easy use AI tool for students and professionals. Generate editable slides, customize designs, and focus on what matters—your unique ideas.

Autoppt: Generate presentations in 1 minute!
Start Free Trail Now